Countless times I needed to start a portal to work with Dynamics 365 for many reasons; generally, portals are created to share data with external and internal users. However, I never thought it would become this easy. This post will discuss how provisioning Power Portal is made.
For more information on starting a Power Portal, check Microsoft’s documentation “Create a Dataverse starter portal“.
Power Apps
Provisioning Power Portal can be done through the Power Apps, from the link https://make.powerapps.com/. Then, we select the environment where we want to create the Portal, as shown below.
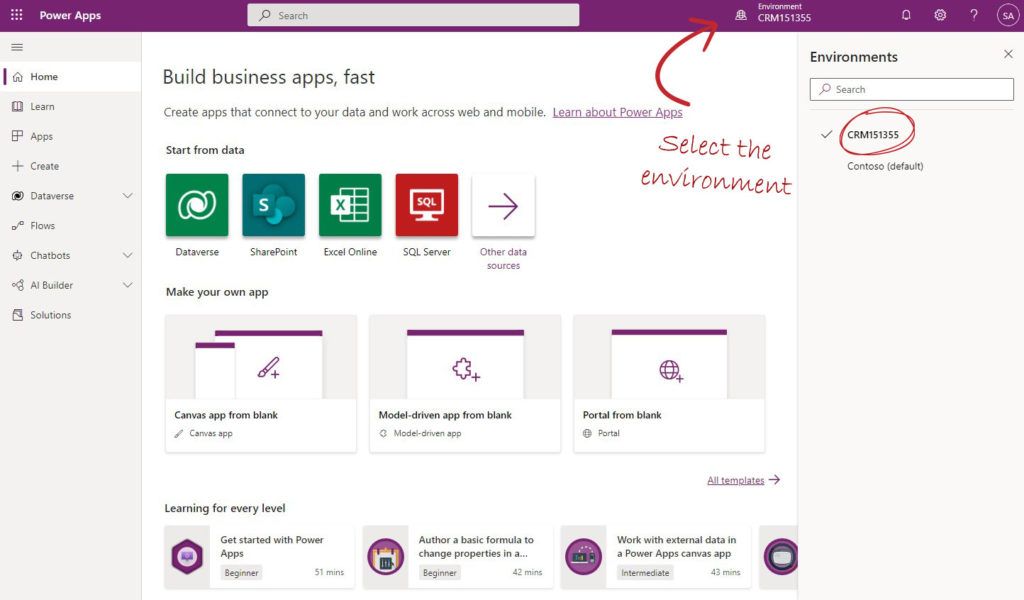
After ensuring we are in the right environment, we click on the create link on the left side menu.
Portal from blank
Here we can create different kinds of Power Apps, such as Canvas apps, Model-driven apps or portals, which we are targeting to develop in this post.
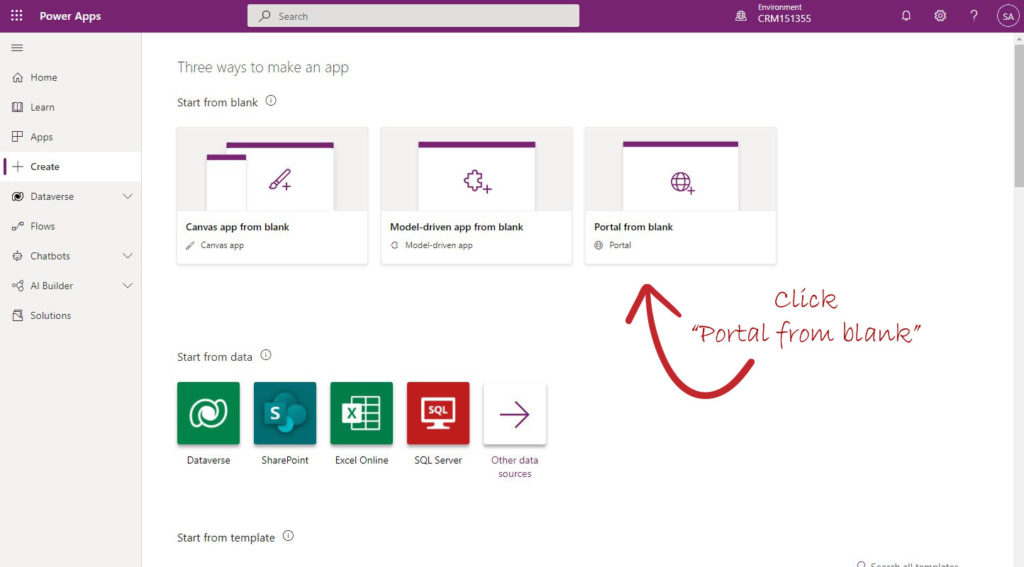
As the above snapshot, we click on “Portal from blank.”
Portal from template
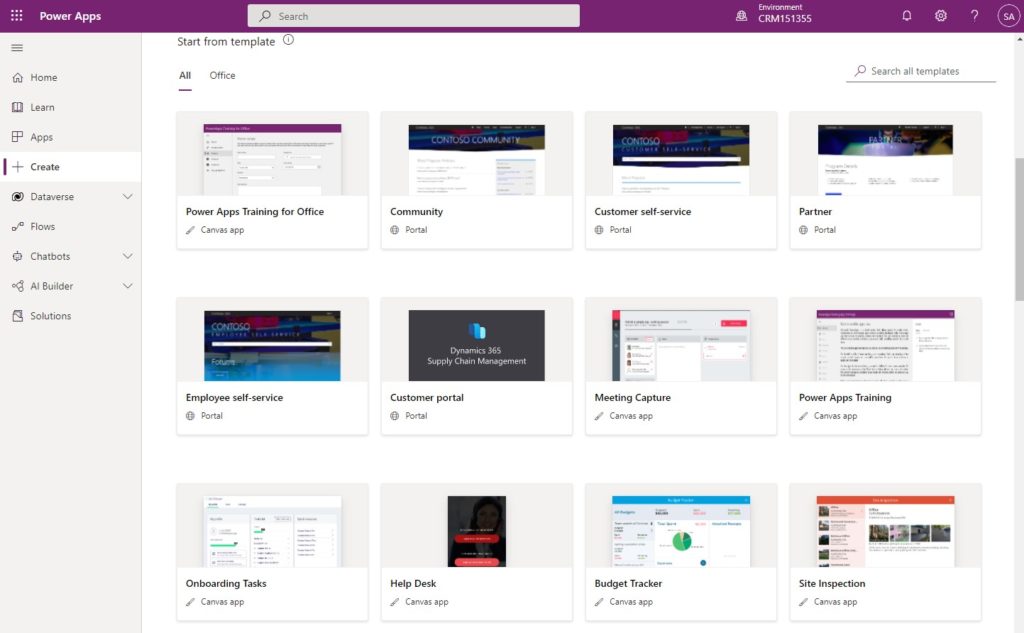
Alternatively, you can decide to use one of the available templates to simplify your work later on if you see any of the template suites your client needs. There are many available templates, such as community, customer self-service, partner, employee self-service, customer portal and field service portal. Also, it is essential to know that Microsoft is adding more templates such as modern community, which is currently in preview.
To build a portal from one of the templates, scroll down to the “Start from template section under the create page and choose one of the templates.
Portal data
While creating the Portal, the first form that is required to be filled is the primary site information, as follows.
- Site’s name, which is important to differnate the portal from other apps and portals in the same environment.
- Address, which is the domain name that will allow the users, either external or internal to communicate with the site.
- The language of portal, I have one language selection “English”
- The option to use an exting data for an extiting site, which if selected, will show a drop list of the existing portals under the same environments. In the below snapshot, I selected one of the portals hosted in the same environments,
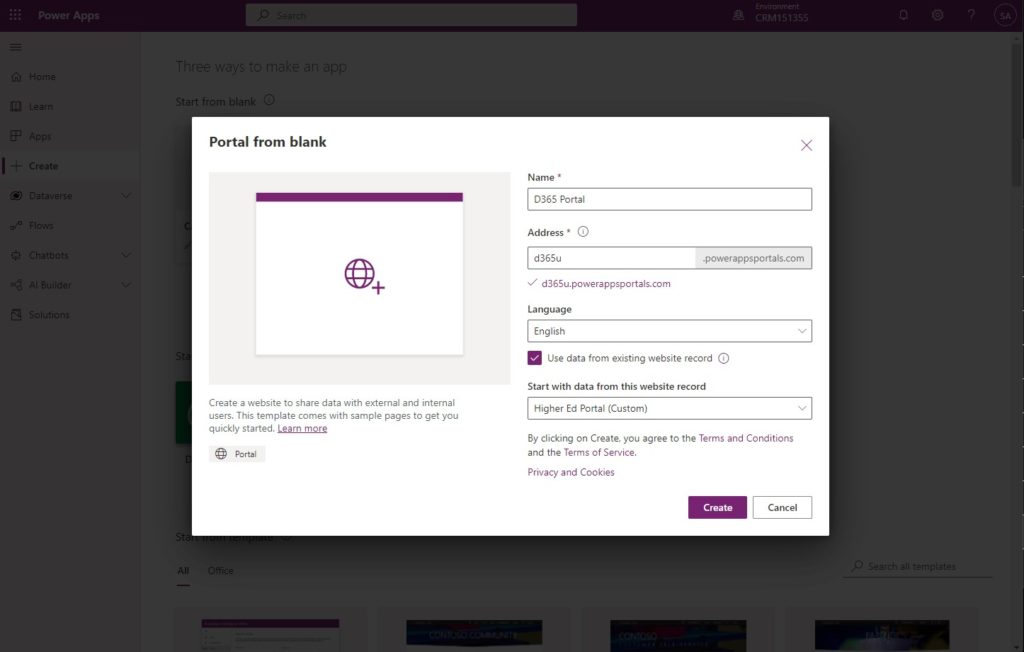
Portal Address
Microsoft provides a domain name while provisioning Power Portal for all the Power Apps Portals under the leading domain name powerappsportals.com. If available, a subdomain of your choice will be the new portal address.
In the example above, my sub-domain is available, and I can proceed with the new domain name.
Additionally, we can have a dedicated custom domain name for the newly created Portal, as explained in a previous post on creating a custom domain name for the Power Portal.
Provisioning Power Portal
Once we click create, Power Apps will start provisioning the new created Power Portal. Generally, this is a quick process, but I noticed that it might take additional time than usual if it is the first Portal in the environment.
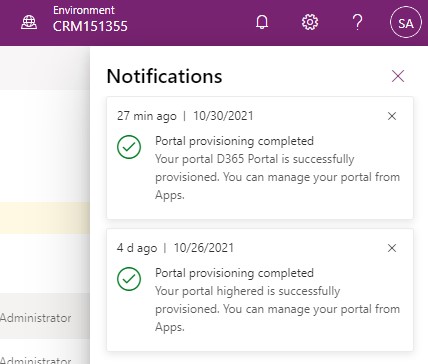
We can check the status of the Portal from the notifications section by clicking on the bill button in the top right of the Power Apps window.
We will also receive two emails; one will come once the provisioning has started and the other once the process has been completed.
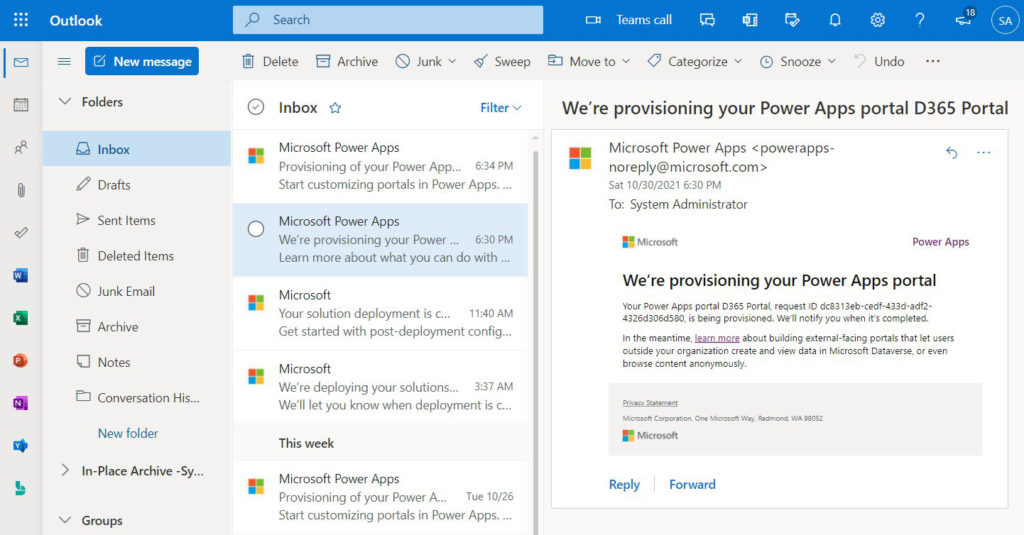
First email stating that the provisioning of the Power App portal has started
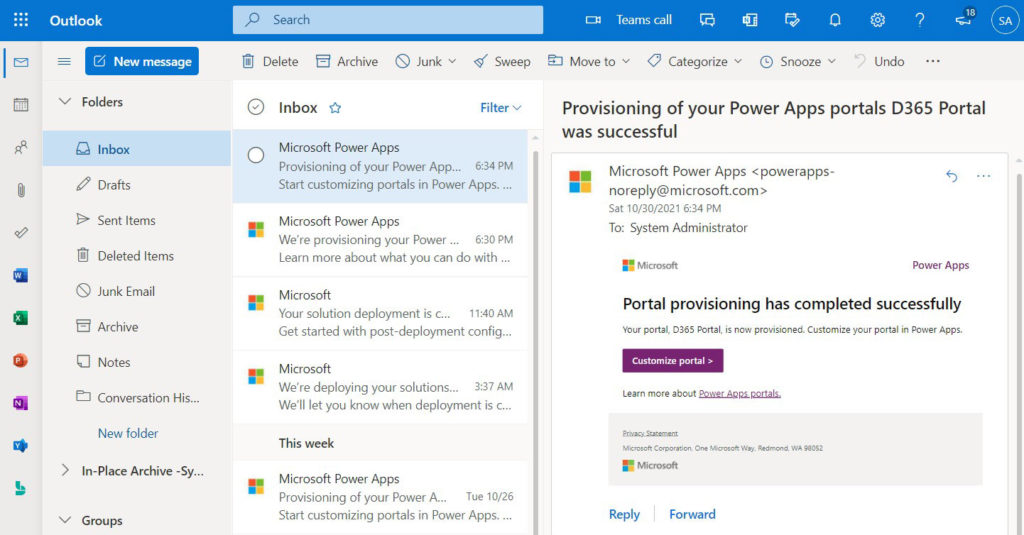
The following email once the provisioning has been completed.
Accessing and convigring the new Power Apps Portal
Now, as the new Portal is provisioned, we can directly access it through the given domain during the setup or the custom domain name if set one up.
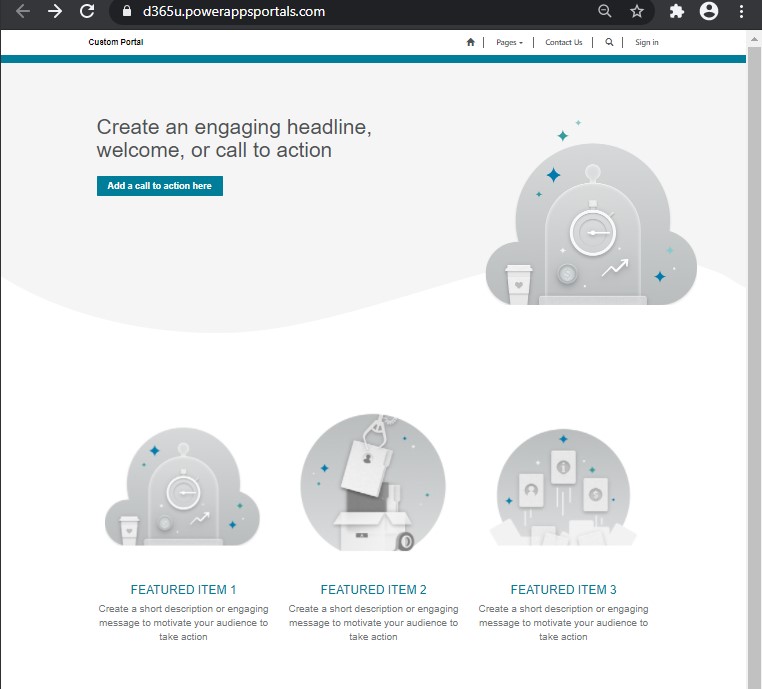
In the example above, the Portal was created, and now we need to configure it from the Power Apps Portal.
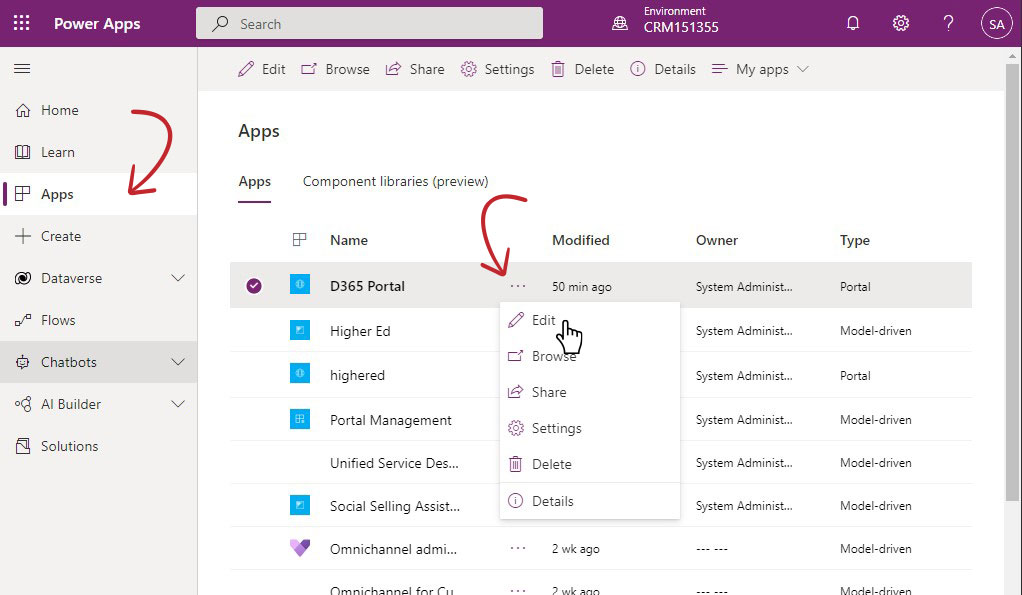
Configure Power Apps Portal
To access the Portal as one of the apps in Power Apps, click on the “Apps” link on the left-hand side menu. Then select the app you want to edit, and from the dots click on edit, as shown below.