Essentially, Organizations depend on continuous sales and clear forecasting. Therefore, Dynamics 365 Sales forecasting offers an adjustable advance forecast matrix. Read more about Dynamics 365 Sales forecast.
However, organizations are entirely different in the way they conduct business and the way their sales is forecasted. Hence, Dynamics 365 is very flexible in how the forecast can be configured. The organization’s sales pipeline can be modelled using Dynamics 365 Sales Forecasting.
Configure Dynamics 365 Sales Forecast
Security roles
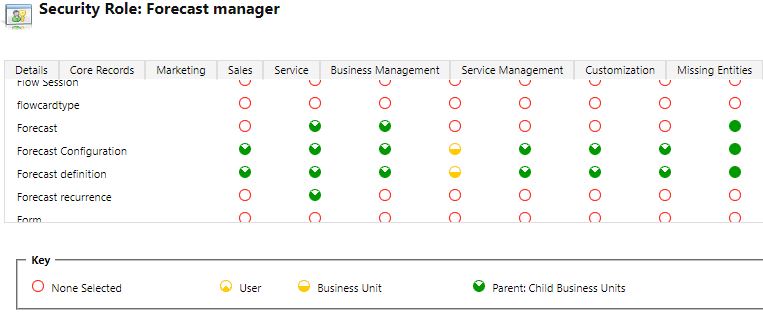
To configure Dynamics 365 Sales Forecasting, either a security role “System Administrator” or “Forecast Manager”.
App Setting
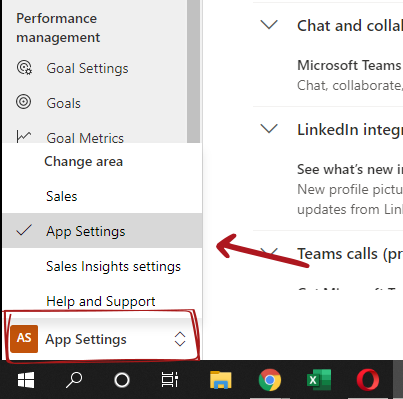
From Sales App > for the app area selector, change go to “App Settings”.
Under the performance management > Select “Forcast configuration”.
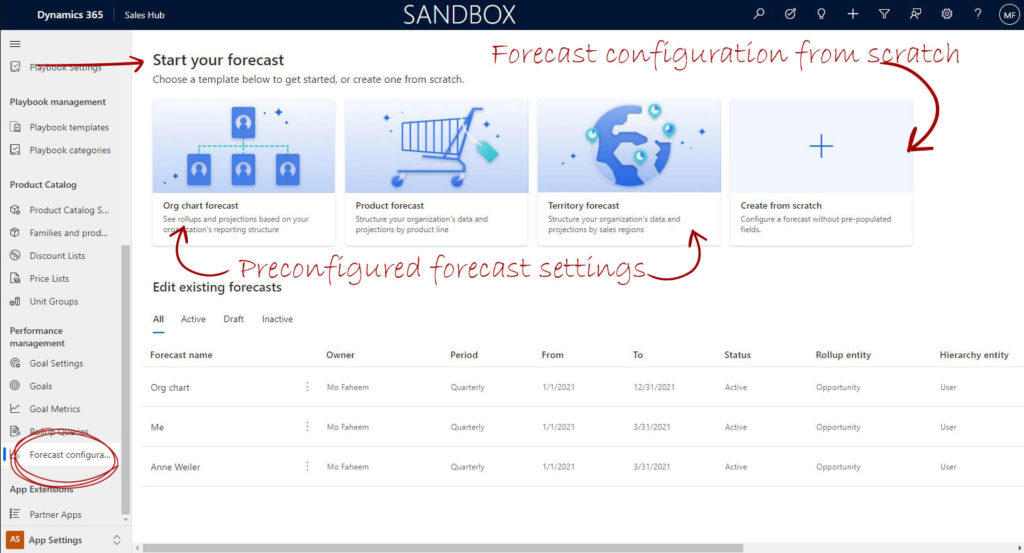
Forecast Configuration
Dynamics 365 Sales Forecasting can be structured based on the organization’s preference and how they perform their business. There are 3 preset configurations provided out of the box and can be adjusted to comply with the business. Understanding the business is essential for the consultant who is setting the configuration for his client’s company.
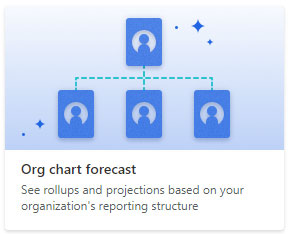
Org chart forecast
For an organization with a sales team division managed by a well-defined organization structure, then the sales forecast can be built based on each sales manager, and the sales team members working for him.
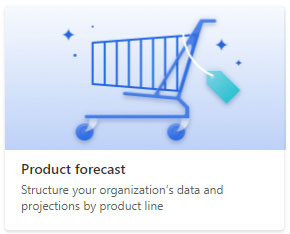
Product forecast
Organizations with different product lines or products families can use this Dynamics 365 Sales Forecasting option, to build a forecast for each of their products or product lines.
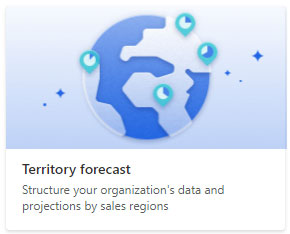
Territory forecast
In the case of organizations selling across a large geographical location, either nationally or internationally, they can build a Dynamics 365 Sales Forecast for each of their own territories.
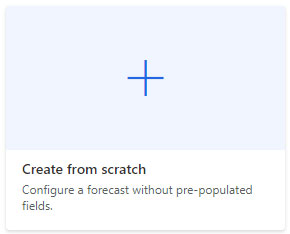
Create from scratch
Based on my experience working closely with many different organizations’ sales depatents in many different sectors as a CRM consultant, I know that each one of them is different, and in many cases, a unique forecast might be required and therefore can be built from scratch.
Setting Dynamics 365 Sales Forecast
Setting Dynamics 365 sales forecasting goes in a number of steps as follow.

1. General
2. Permissions
3. Layout
4. Filter data
5. Drill down
6. Snapshots
7. Advanced
8. Activate & add quotas
1. General Step
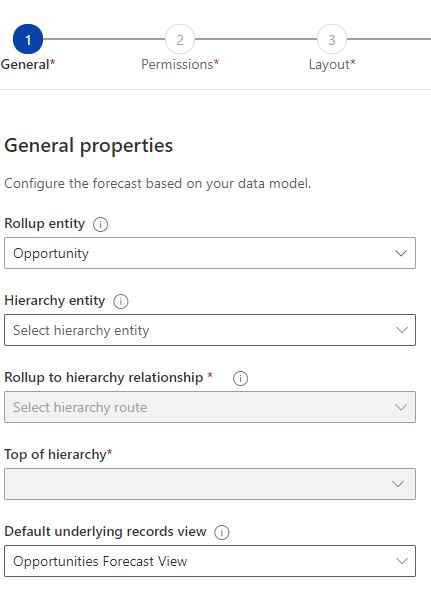
General Properties
To understand how to set up the Dynamics 365 Sales Forecast, it is important to understand the main matrix properties that the forecast is calculated based on.
Rollup entity
This is the main entity that the forecast will be measuring. Generally, it can be the opportunity entity. However, it can be any other entity with a numeric value that can be rolled up and measured.
Hierarchy entity
The entity which the rollup entity will be calculated against. Generally, the users’ entity is commonly used but can be changed if we need to forecast against other entities such as the accounts or territory.
Rollup to hierarchy relationship
There has to be a relation between the roll-up and the hierarchy entities for the forecast to work. Moreover, if there is more than one relationship between the two entities, we have to set which relation is used.
For example, the user entity has multiple relations with the other entities such as “Created by”, “Modified by”, and “Owner”. In such cases, we have to set which relation the forecast will use. Generally, in this case, will be the owner of the record.
Top of hierarchy
The specific record of the hierarchy entity on which the forecast will be calculated. For example, if the users “Owner” is the hierarchy entity, then the top of the hierarchy will be either a specific salesperson or sales manager owning the opportunity or the account.
Default underlying records view
Select one of the views of the rollup entity views. A special view can be created specifically for the forecast views.
Scheduling
The scheduling settings is the timing settings of the Dynamics 365 Sales forecast.
Forecast Period
Two-period options, either quarterly or monthly. Based on this option, the other schedule settings are determined.
Fiscal year
Set the fiscal year where the forecast is calculated. For example, the year can be set to 2021.

Start of this forecast
In the cast of the quarterly period forecast, set the fiscal year quarter (Q1, Q2, Q3 or Q4). In the case of the monthly option, set the first month of the forecast’s start.
Number of periods
In the cast of the quarterly period forecast, set the number periods to a maximum of 4 quarters. And in the case of the monthly period, the maximum of 12 months or less.
Valid from and to
The validity of the forecast with the start date and the end date. These dates are set automatically based on the previous settings.
Start this forecast on fiscal start date month
This (yes/no) option is available only on the monthly forecast period option. This option set the forecast to the fiscal start date month.
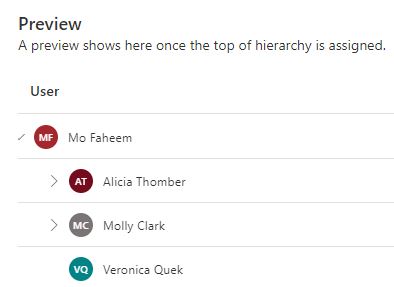
Preview
Based on the hierarchy entity and the hierarchy record the preview will be generated and viewed.
For example, if the hierarchy entity is the users “Owner”, the preview, once the top record is selected, will show the name of the salesperson or names of the sales manager along with the sales team reporting to the manager.
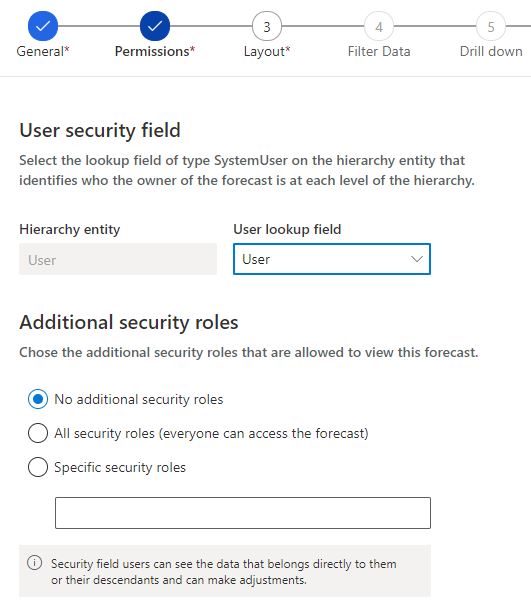
2. Permissions Step
– User security field
Hierarchy entity
The hierarchy entity is what was set in the first step and cannot be changed in this step. You require to go back to the general step to edit this value.
User Lookup field
This value identifies the owner of the forecast and based on the hierarchy entity.
– Additional secuirty roles
Additional security roles can be applied if needed. Alternatively, it can allow access for all Dynamics 365 users to the forecast.
3. Layout Step
The layout will show the forecast columns in an order according to the organization’s interest. To Set the columns, we require to add the options set that contains the required data to show the columns.
4. Filter data step
Filter data is not a mandatory step, but, Dynamics 365 Sales forecasting can have a specific scope.
For example, the forecast can be designed for a specific account/s or an opportunity or more with a minimum value.
5. Drill down step
First of all, this step can be skipped if not needed, but it can help to break down the aggregated forecast amounts if needed. The drill down feature enables users to break down the forecast, based on another entity such as account, product or/and product line entities. The drill down can be structured on the entity or on an entity option set. The aggregated forecast amounts can be broken down based on the other entities set in this step.
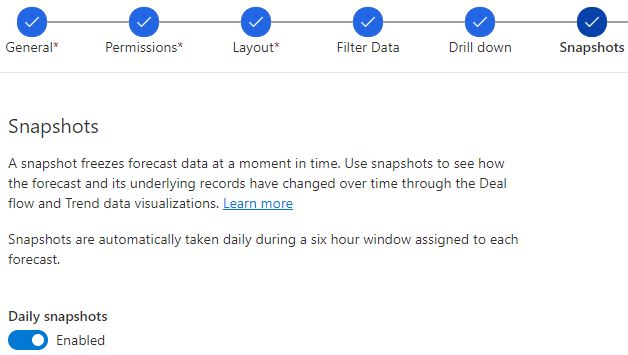
6. Snapshots step
First of all, it is important to understand that Dynamics 365 Sales Forecast shows current data by default. To be able to view the historic data, the daily snapshots toggle is required to be enabled.
This is not a mandatory step. However, it helps to monitor the changes in the forecast over time by taking a snapshot of data. A six hours window is the gap between each snapshot.
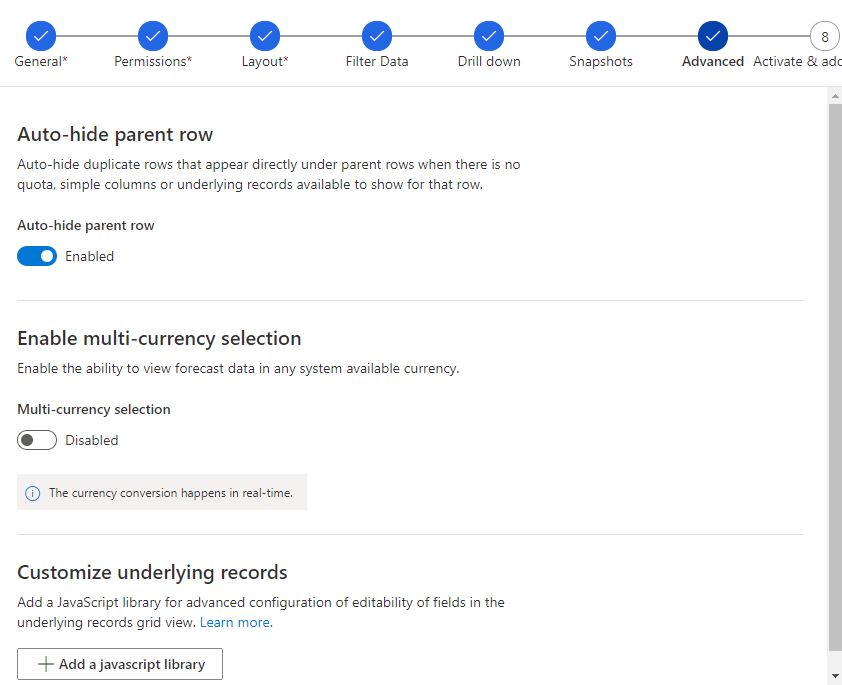
7. Advanced step
Auto-hide parent row
Hide duplicated rows with no quota. I personally recommend enabling the out-hide of the parent row.
Enable multi-currency selection
The enable multi-currency selection is a useful feature for organizations, operating internationally across borders with multi-currency.
Customize underlining records
Using Javascript to edit fields in the grid view, read more about how to add the Javascript.
8. Activate and add quota
Finally in this step, we can activate the forecast and add the quota using the downloadable template!
Activate forcast
Dynamics 365 Sales Forecasting once configured requires to be activated. Before the activation, the forecast will not be rolling up any values.
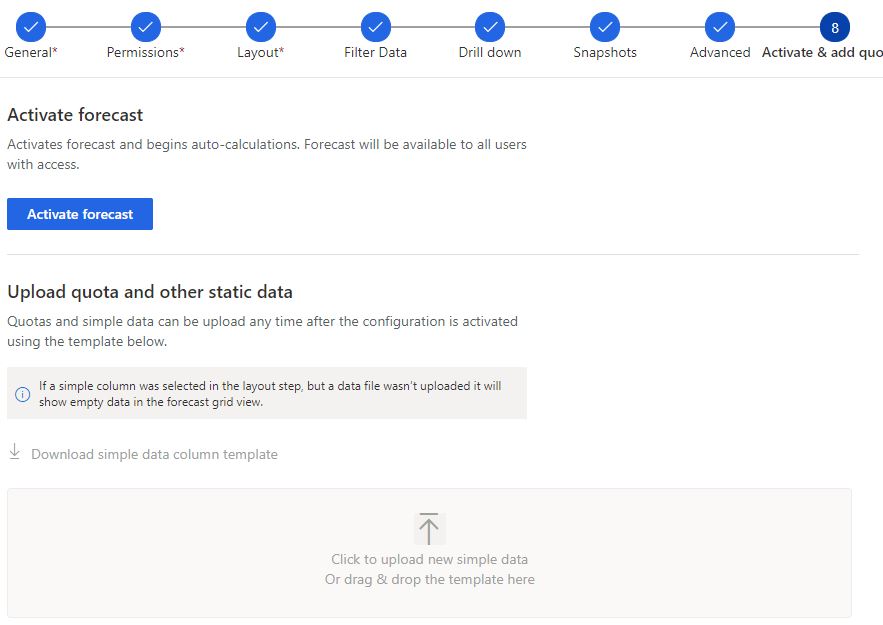
Upload quota and other static data
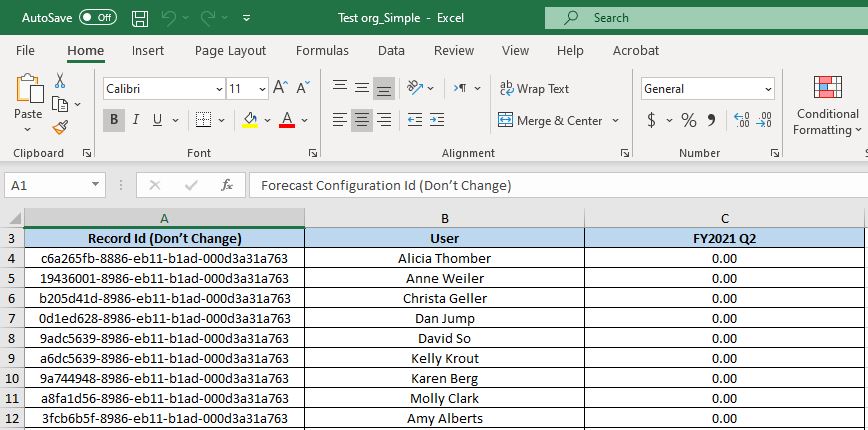
Once the Dynamics 365 Sales Forecast is activated, we will be able to download the quota template.
The excel sheet has three columns,
- Forecast Configuration Id which shouldn’t be changed
- The hierarchy entity records. For example, the user records, products, territory or account.
- The targeted quota for each of the hierarchy entity.