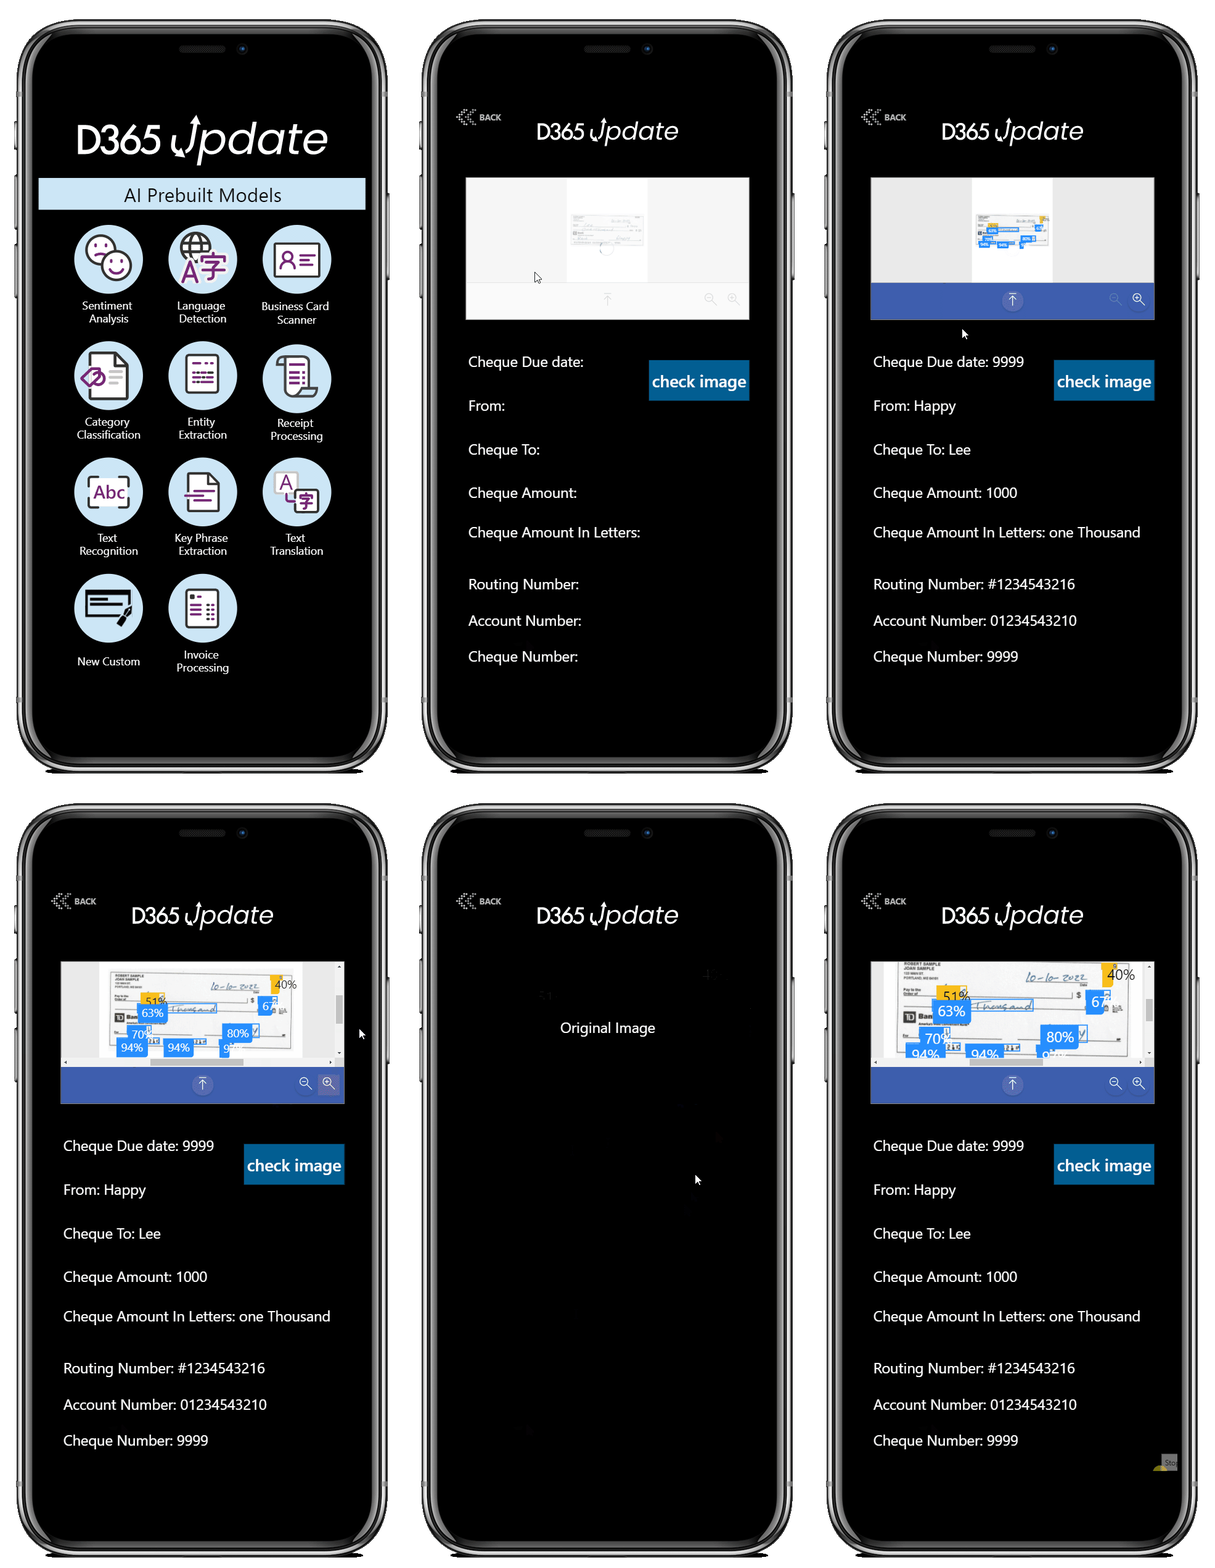
This post will discuss how to include a form processing AI Builder in Power Apps and how to use it after being trained, tested and published. For more information about creating Form processing AI Builder.
the first step, we need to log in to https://make.powerapps.com/ and choose the right environment to create the canvas app.
Form processing AI Builder in Power Apps control
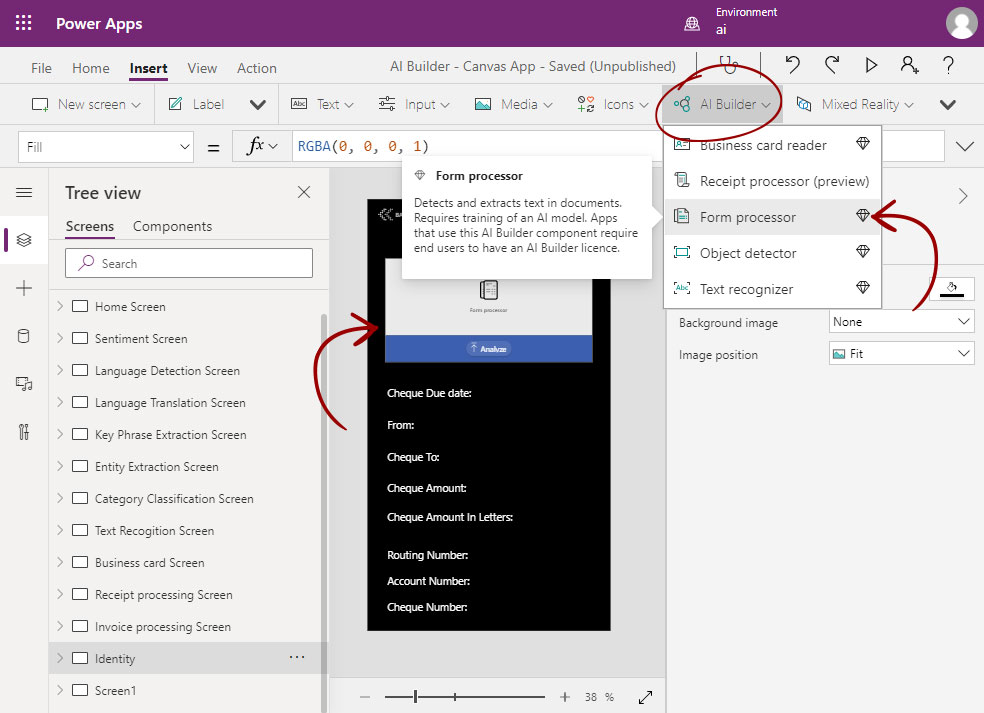
From the Insert tab, choose AI Builder and select a Form processor control.
Once the Form processing is clicked, the form processing control will be added to the canvas app.
The Form processing AI Builder in Power Apps control is ready to use and doesn’t require a lot of development.
Select the published form processing
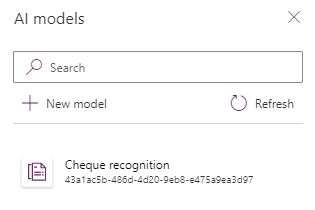
Once a form processing is selected from the AI Builder menu, we require to choose one of the published custom models to be added to the canvas app or create a new custom form processing model.
Read more about creating Form processing AI Builder. This step is required before adding any form processing models
Using Form processing AI Builder in Power Apps
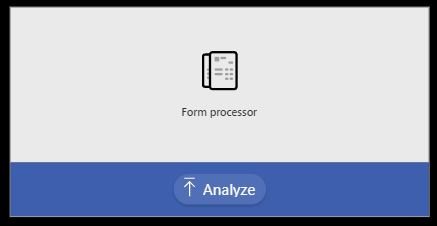
Using Form processing AI Builder in Power Apps control is ready to be used and analyze the data based on the trained, tested and published custom AI Builder model.
Once used from mobile or tablet, the control can scan documents from the image library or using the mobile camera.
Processing the AI Builder model results
Once the analysis is completed, the results can be presented on the screen or pass this data to other systems or database. This post will present this result data on the app screen.
To present the results we will use text labels to present each of the Form processing custom AI Builder fields created during the custom AI builder model training phase.
Show extracted data
On each of the fields, we require to to set the “Text” attribute of each of the text labels

FormProcesserControlName.Results.'Field Name'.Value
Show analysis confidence
The AI Builder model provides an analysis score for each of the analyzed fields.
We can present this data or pass it through with the data to make sure we only rely on a high score.
In the example, some of the values were high, and some were less than 70%. If the values are low, this indicates that we still require to train our model more.
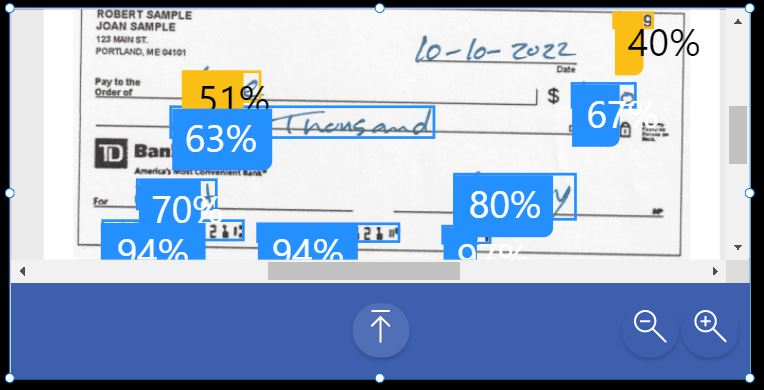
Notice where the date of the check is wrongly selected, and the confidence was 40%. This is a clear indication that the model is not trained enough and the data is not yet reliable.
To show the confidence score, we will user the same method in the previous step, using a text label.

FormProcesserControlName.Results.'Field Name'.Confidence
Show the original scanned image
To show the scanned image, we require to insert a “Media” control of the type image. Then, set the “Image” attribute as follows.

FormProcesserControlName.OriginalImage


2 comments
Hi Faheem, not sure if you are able to help on this question posted in Poweruser community. I tried to upload an image above 50 x 50 pixels for the form processing model but it was rejected due to below 50 x 50 pixels. I am confused and thus need help.
https://powerusers.microsoft.com/t5/AI-Builder/bd-p/AIBuilder
Hi Jason,
I know for sure that I processed much bigger images than 50 x 50 pixels.
There is another reason for that is failing.