


In my article on creating Dynamics 365 Service Level Agreements and SLA Items, the option to make Dynamics 365 Service Level Agreements actions appears once you save the record.
For more information on configuring Dynamics 365 Service Level Agreement Actions, check the Microsoft link on how to define SLAs.

Configure Dynamics 365 Service Level Agreements Actions
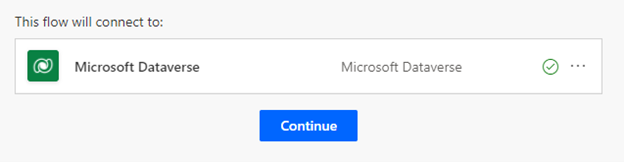
When you press the action button, you will be taken to the Power Automate site and see the following. As explained below, press “Continue” to establish the connection to Power Automate.
Power Automate
Now you will see another box added below the connection to configure Dynamics 365 Service Level Agreements Actions, and if you expand, you will see four more. This is a template provided by the system, so do not try to delete anything.
Switch control
This is known as a switch control, and depending on the value of the status field, you can perform a different action. If you choose not to create an action in one of the boxes, leave it there. It will not affect anything.
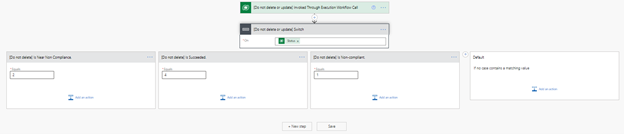
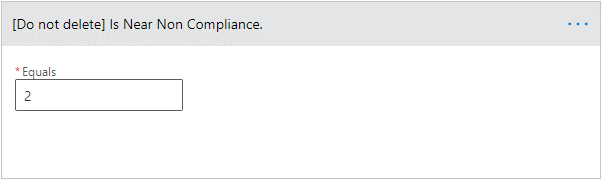
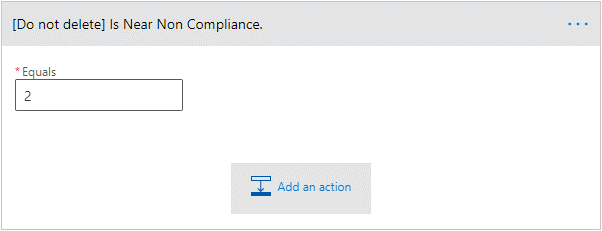
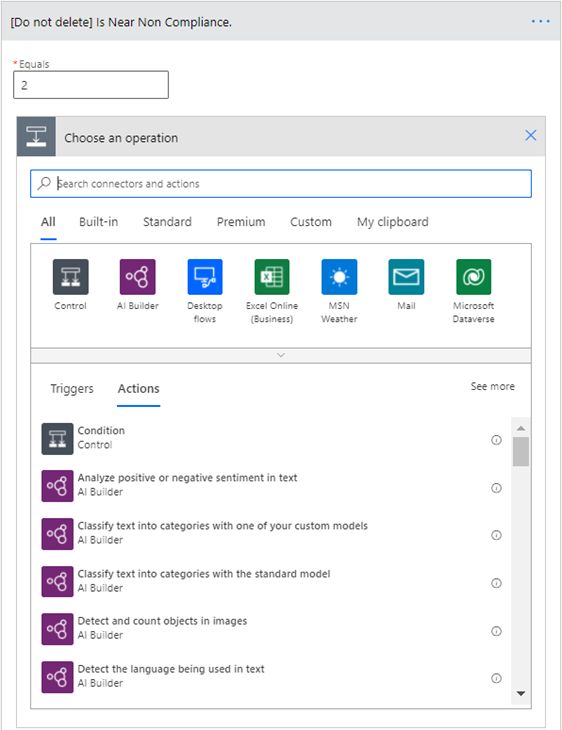
Is near non compliance
The first box from the left is for the warning action. This is triggered when the amount of time you set for the warning has run out. You will see an Equals text box in all the boxes. Do not touch what is in there, as this is the status code.
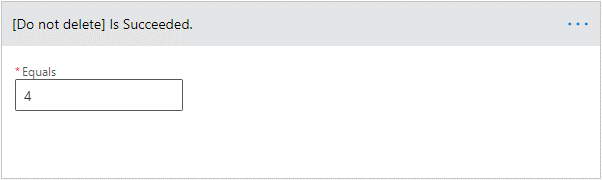
Is succeeded
The second one is for the successful action. This is typically used as the warning and failure options, but if you choose to perform an action on the success, you would add it.
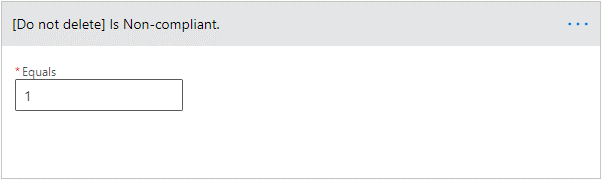
In non-compliant
The third one is for the failure action. Here you add the action you want to be performed when the SLA timer fails.
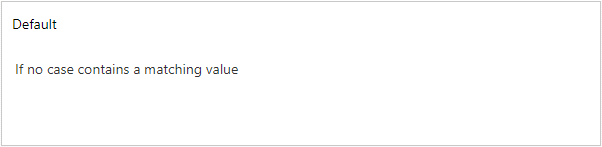
Switch control – Default option
The last one is the default, meaning when none of the other conditions is met. This is just part of the control type, and we will not be using this one.
Is near non compliance
You can do many things with each of these boxes as you have the full power of Power Automate at your disposal, but we are just going to add email actions for this example.
To begin, click on one of the boxes and then press the Add an action button.
This will open a new window inside the box to allow you to search for the action.
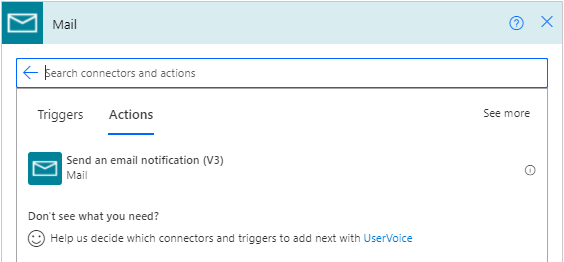
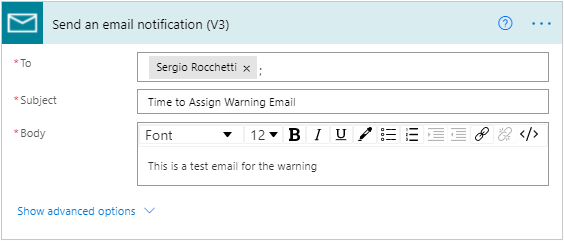
Click on the Mail icon, and it will list the different actions for this group. At the time of writing, the email action is called “Send an email notification (V3)”. This can change when by the time you try it, so just select what is offered, as shown below.
Now begin to fill in the fields. I will keep it simple. Details on this action are beyond the scope of this tutorial, so if you want to know more, just do a search, and there are plenty of resources out there. What I have below is enough to make this work.
That’s it; we are done. Press save and close the window and return to Dynamics 365. Now you will need to repeat these steps for each of the SLA Items.
When you are testing your SLA, let the timers run out to see the emails sent out to your inbox. From there, you can start playing with making a more meaningful email. You can also try to add other types of Dynamics 365 Service Level Agreements actions such as creating tasks, reassigning the case to someone else, or adding another email to send a different email to a separate mailbox.